Launch Sale — $99 (reg. $199) · Ends Oct 11
From 3D Printing Novelties to a Working Custom Mechanism in 3 Weeks.

Many 3D‑printing hobbyists bought a printer to build real things — not to press print on other people's files forever. They can already get a clean print. They have dabbled in Fusion or TinkerCAD.
But whenever a design is supposed to actually move, the parts don’t fit, and it’s back to downloading novelties that feel like toys.
In 3 weeks, at about an hour a day every weekday (Weekends are light days) students design, print, and assemble a working mechanism engineered from scratch.
Enroll today and get:
The full 3-Week Mechanism Builder course
Immediate access to the Confident 3D Builder community (starts the moment you join)
Launch Sale: $199 $99 for lifetime access.
Launch price ends in:

Not sure yet? Scroll down — there's more ↓
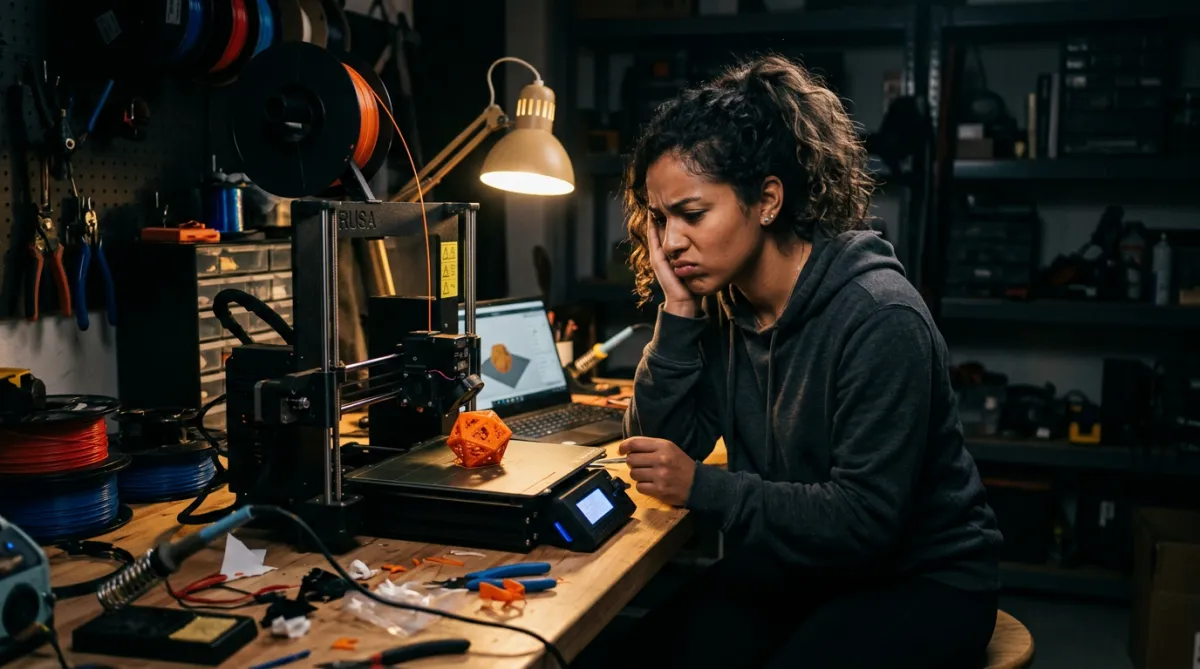
What’s Standing Between Hobby Prints and Functional Mechanisms
❌
Problem #1
Hobbyists drown in disconnected tutorials with no finish line.
❌
Problem #2
Parts can look right on screen but still fail in real life.
❌
Problem #3
It often still feels like button‑pushing, not real mechanical design.
Introducing
3-Week Mechanism Builder
✅
Solution #1
A clear daily roadmap — about an hour a day, no guessing what's next.
✅
Solution #2
A guided mechanical project that teaches tolerances by building real moving parts.
✅
Solution #3
The course ends with an original mechanism, designed and printed from scratch.
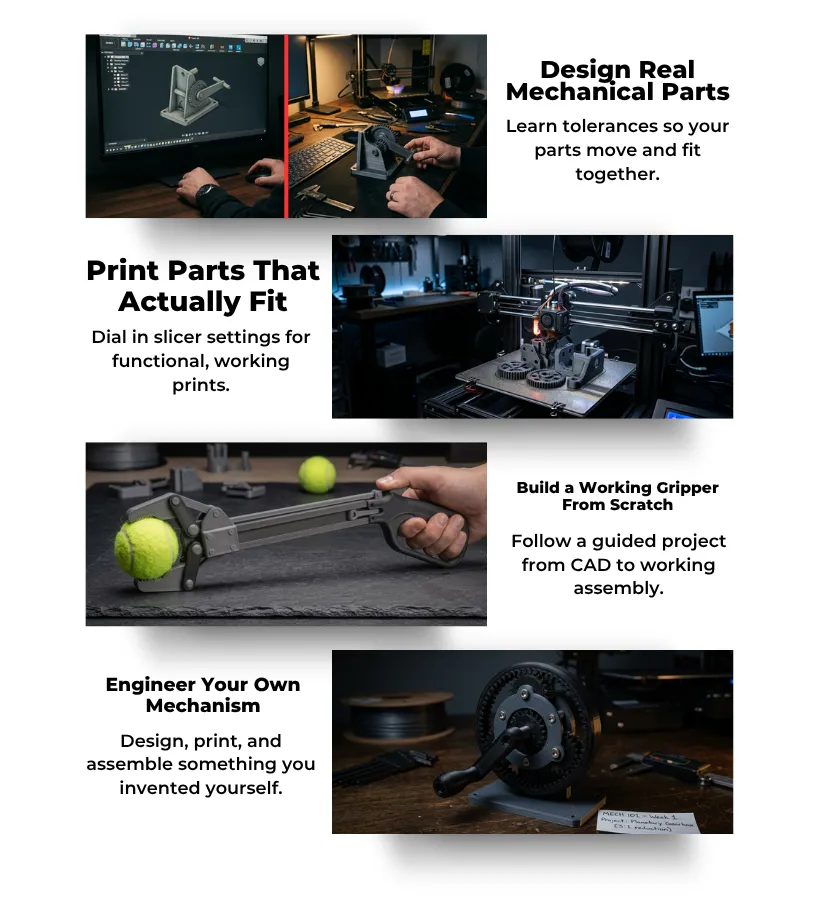
Learn How To:
3-Week Mechanism Builder
Course Curriculum
Mechanical Design Foundations
Stop guessing why your parts don't fit together
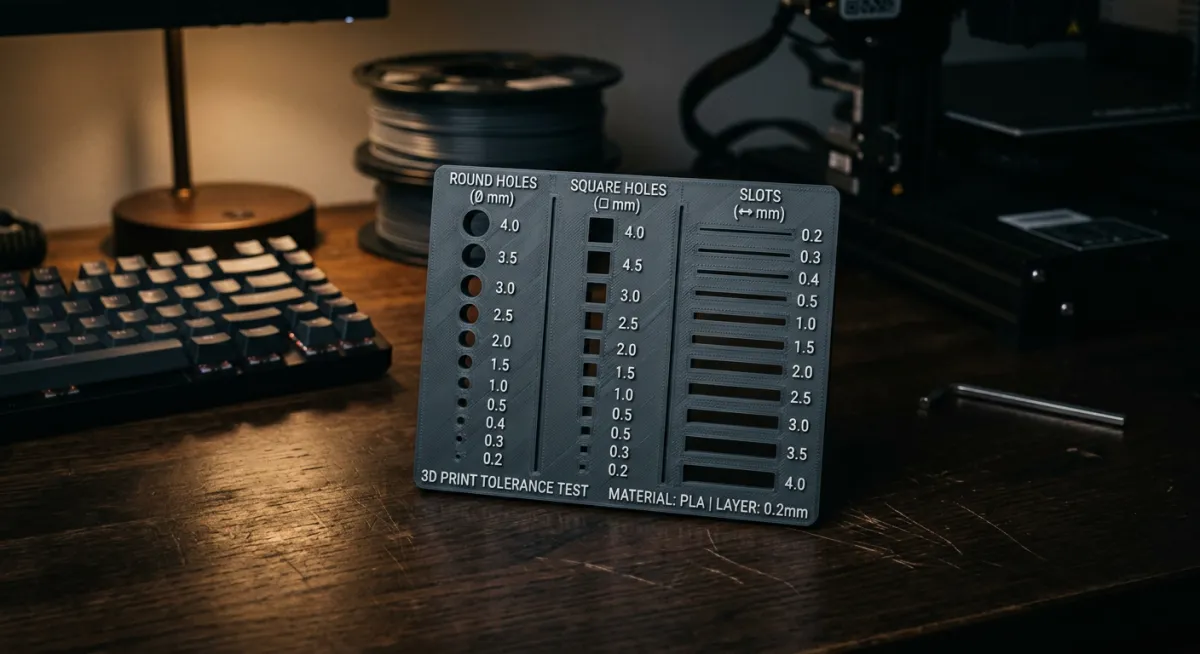
Learn tolerances, clearances, and fit types with a printable cheat sheet you'll reference on every future project
Confidence that what you design on screen will actually work in real life
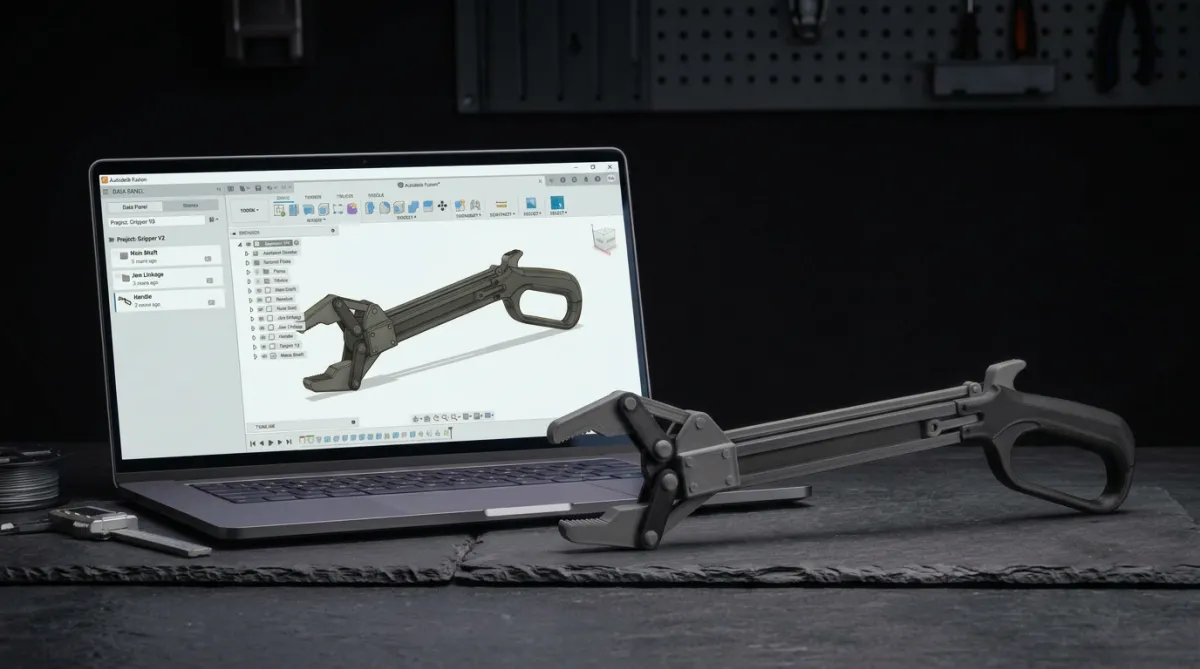
Guided Gripper Build
No more wondering “what happens next?” — every step is mapped out
Design, print, and assemble a working mechanical gripper from scratch
Hold a real working mechanism, built from individual printed parts, by the end of week 2
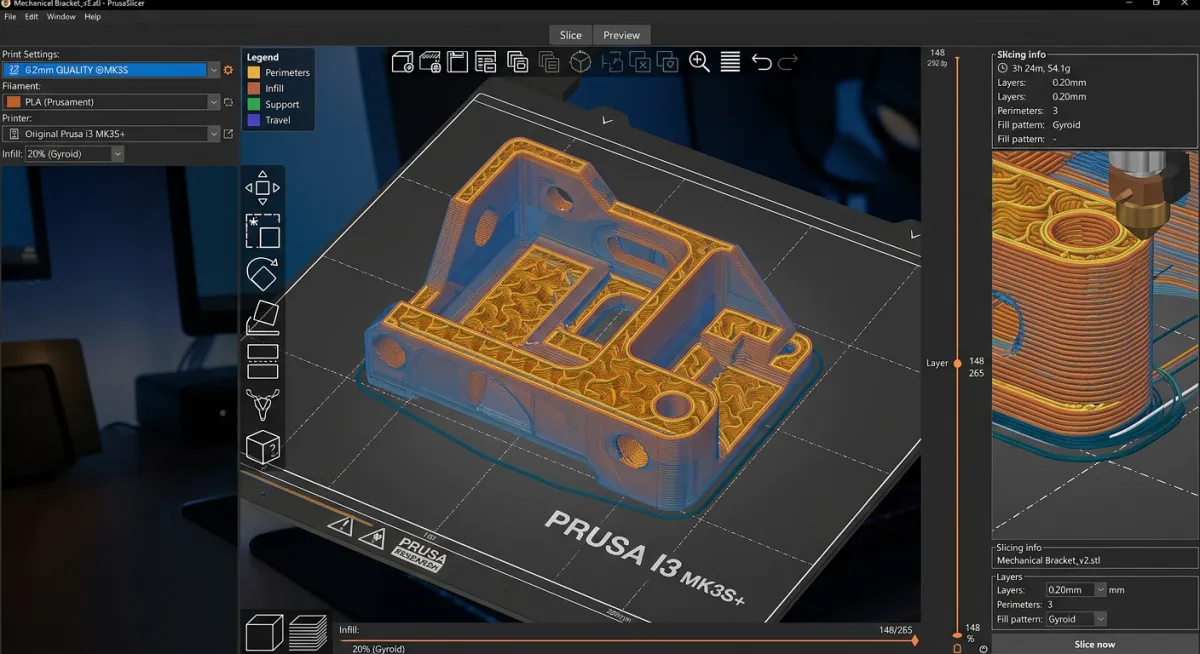
Print Settings for Functional Parts
Stop wasting filament on failed prints that don't move or fit
Learn the exact slicer settings, infill, wall count, and print orientation for mechanical parts
First-try prints that assemble and function as designed
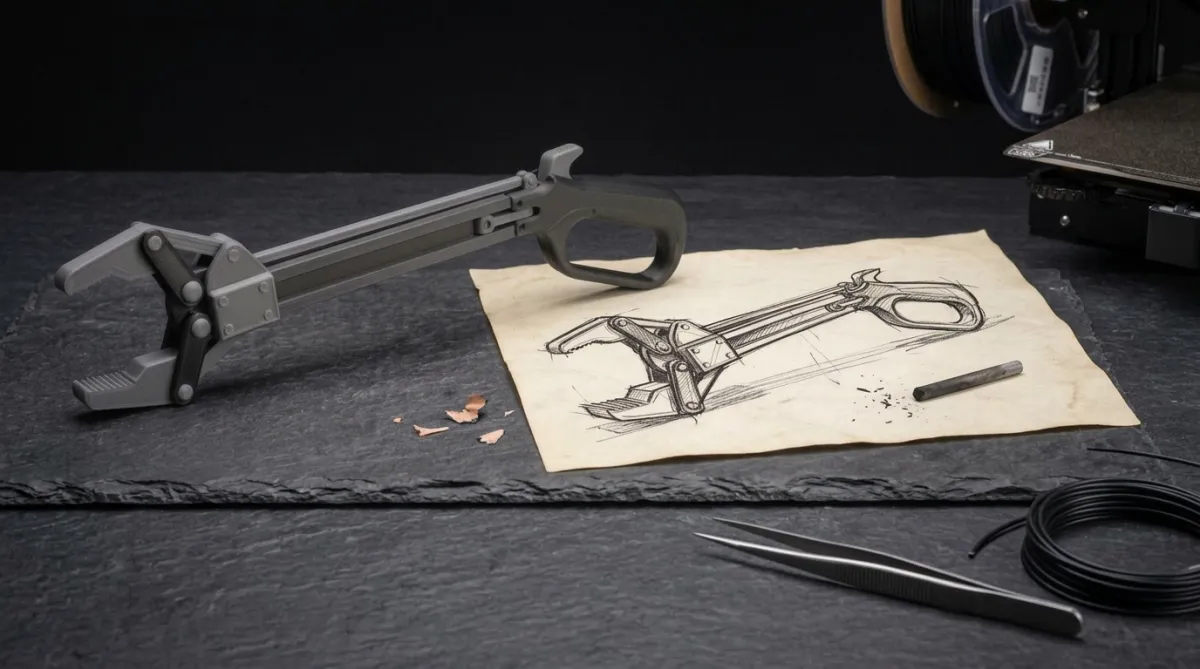
Design Your Own Original Mechanism
Go from “I followed a tutorial” to “this mechanism was engineered here from scratch”
Use a design brief template to plan, design, print, and assemble your own unique mechanical device in week 3
Walk away with proof of real mechanical‑design skill, not just button‑pushing
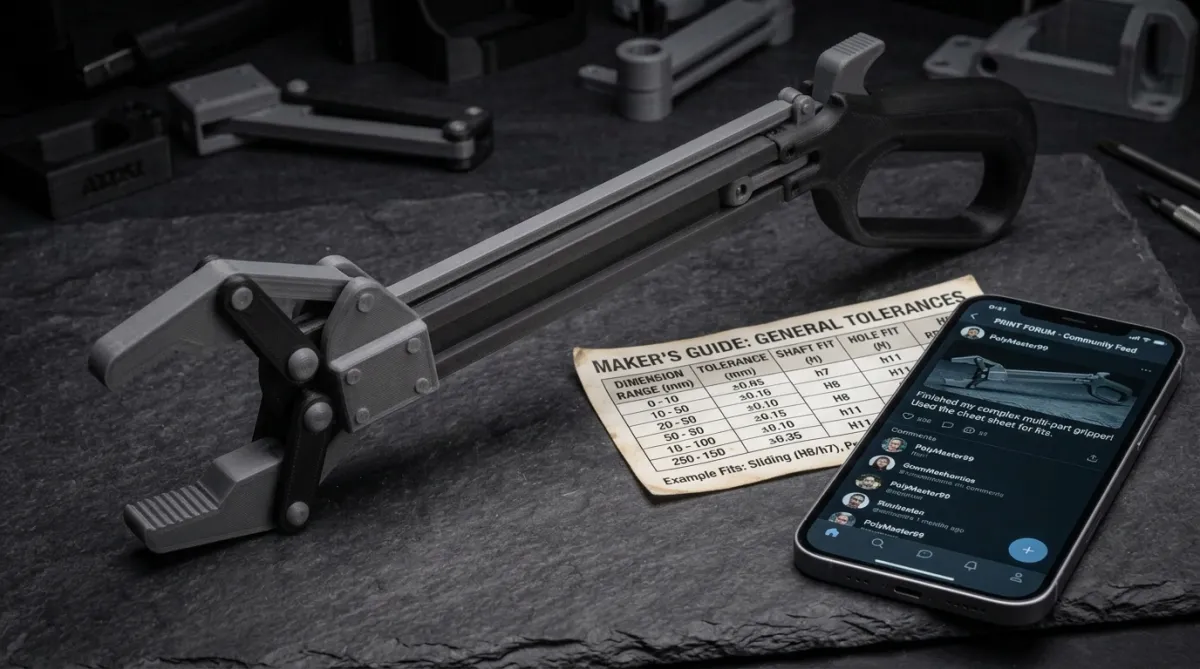
Everything Included with the Course
Tolerance Reference Kit — PDF cheat sheet + 3D printable tolerance test file (STL)
Confident 3D Builder Community Access — Connect with other builders, share your work, get feedback, and ask questions anytime
Lifetime Access — The course is yours forever, at your pace
Meet Your Instructor
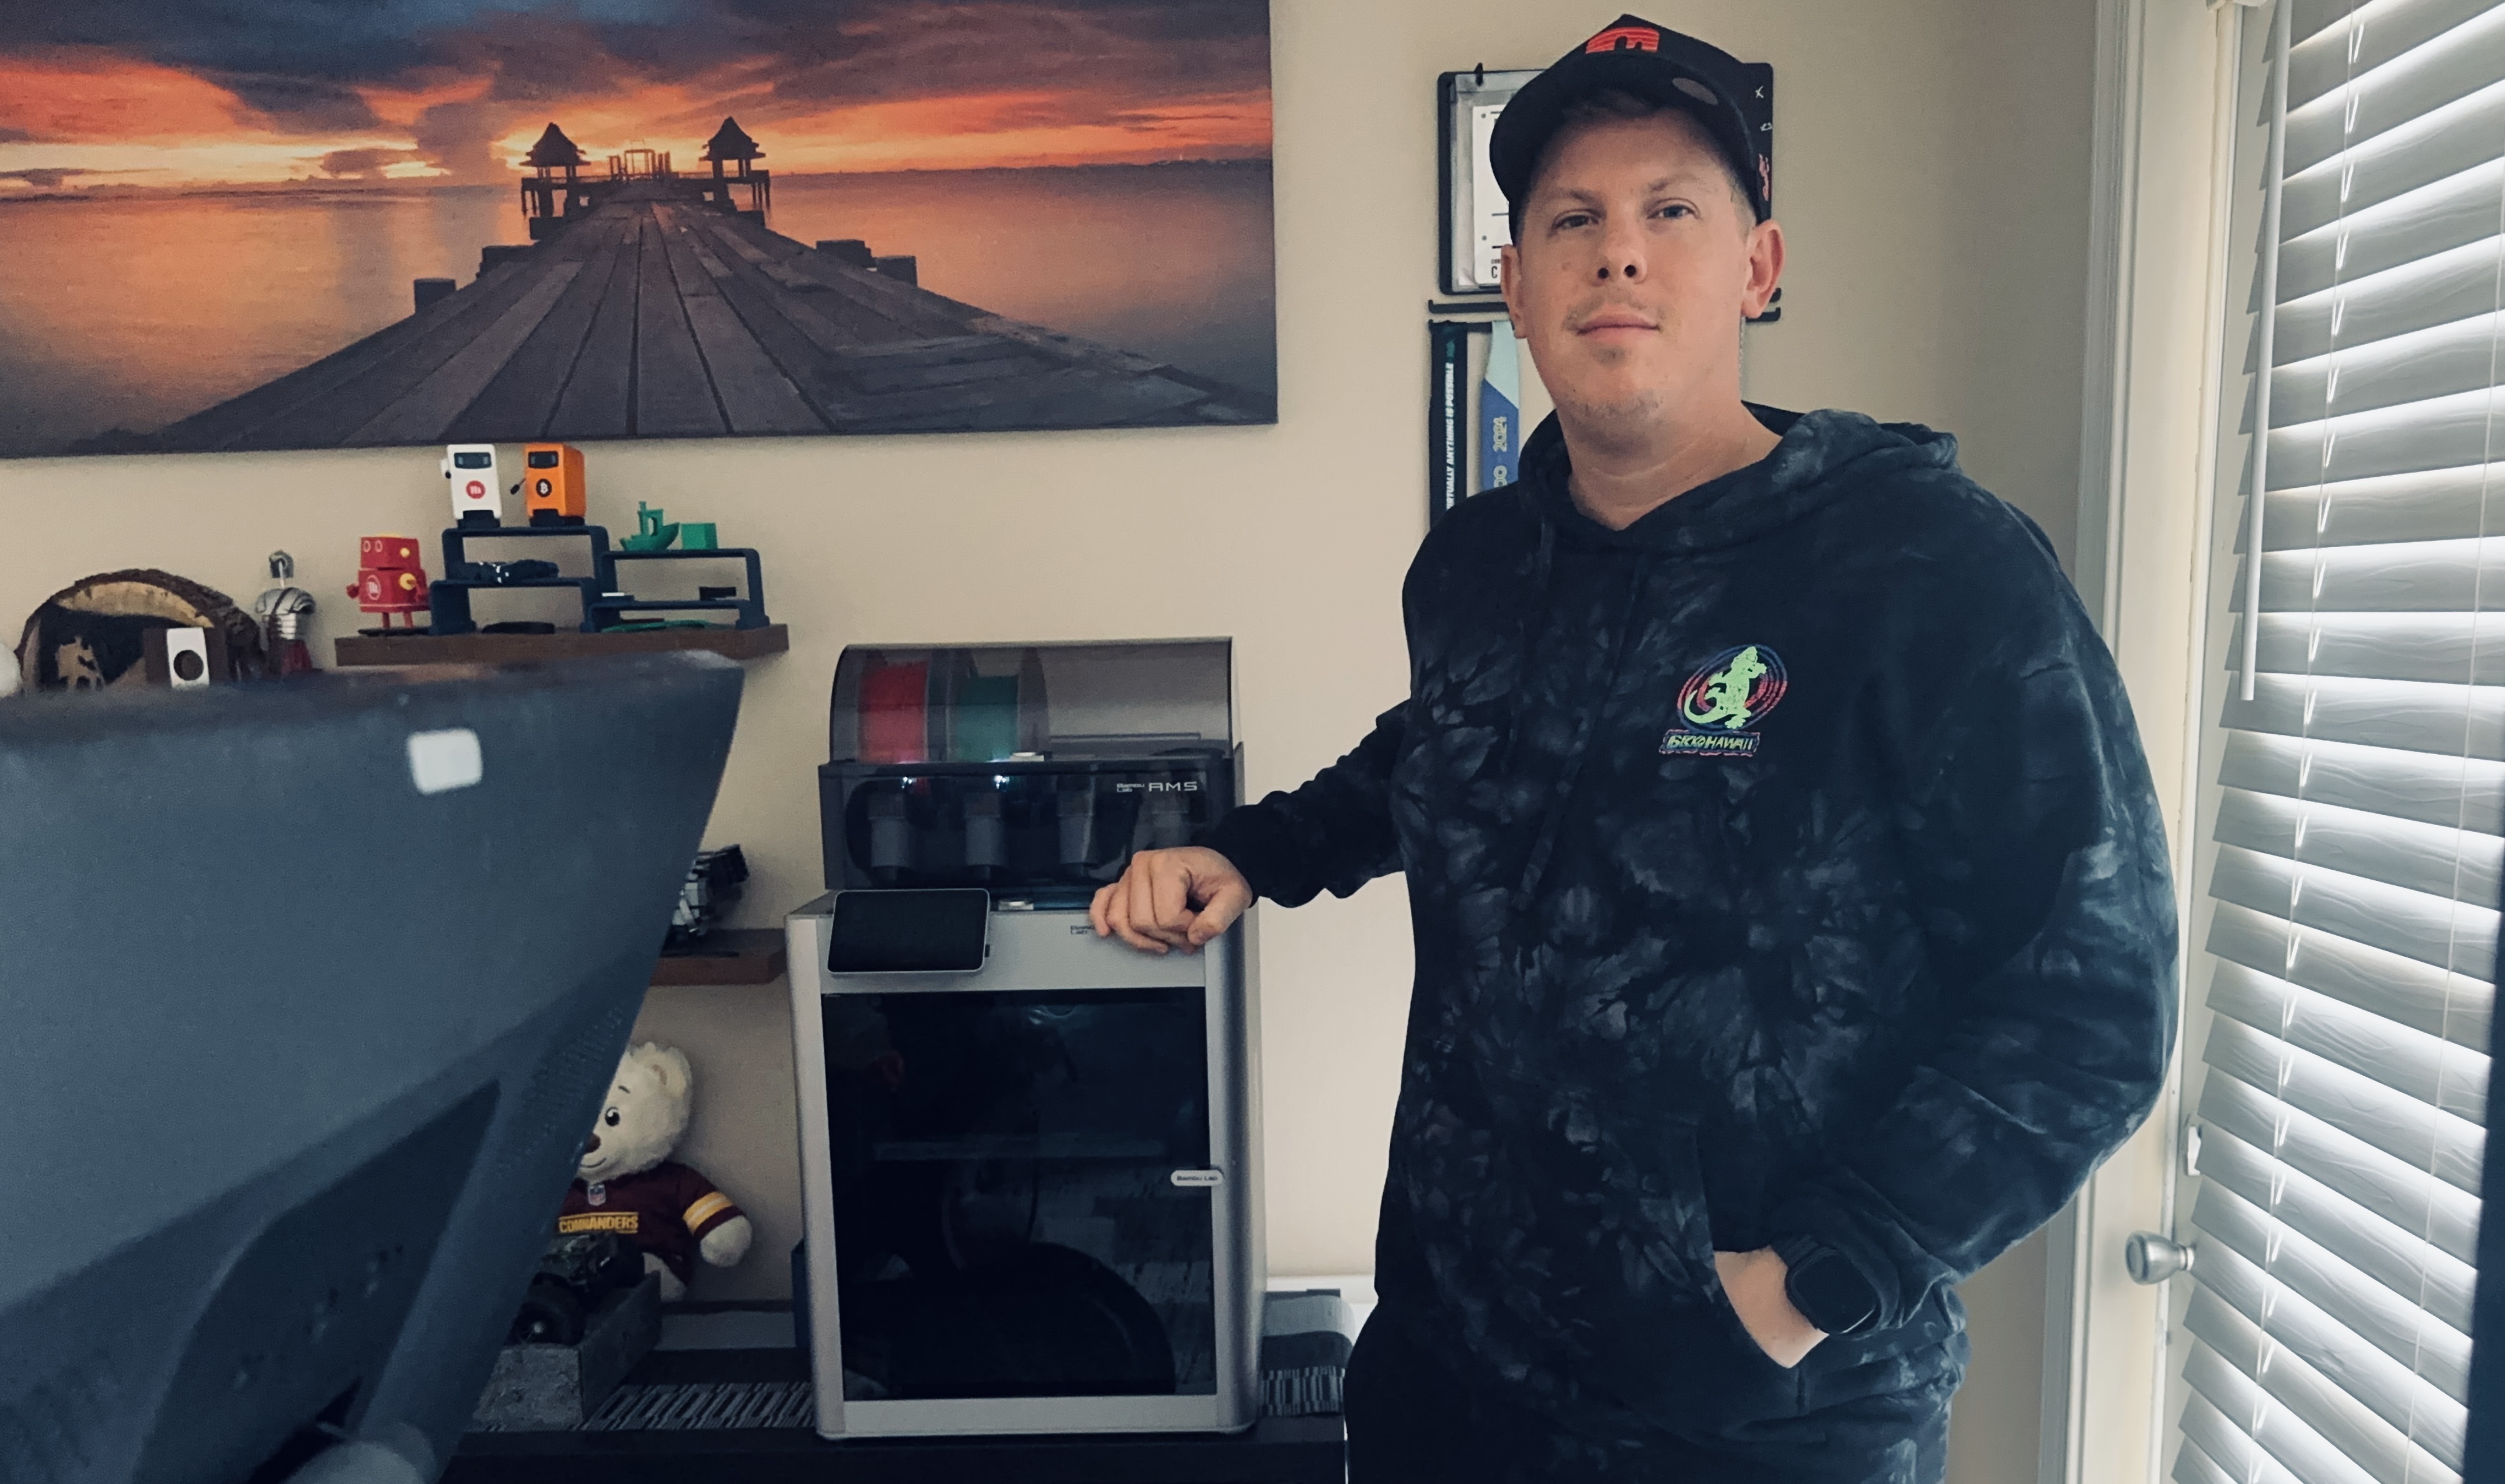
My name is Michael.
I've been obsessed with how mechanical things work since I was a kid sketching gears in notebooks. I studied mechanical engineering, built my first 3D printer from a $130 kit, and started trying to print my own designs.
They didn't work. Tolerances were off. Parts didn't fit. Designs that looked perfect on screen failed in real life. I almost gave up and became a "just download someone else's files" button pusher.
Instead I went back to the fundamentals — tolerances, clearances, fit types, print orientation — and slowly cracked the code. The first time I held a mechanism I designed from scratch and it actually worked, I finally felt like a real engineer.
That's the moment this course is built around.
Most makers aren’t focused on an instructor’s journey; what matters is whether the process works consistently. This curriculum exists because that process is repeatable.
No engineering degree or expensive software is required. What’s needed is a clear process — taught by someone who has already made the common mistakes so students don’t have to.
That's why I designed 3-Week Mechanism Builder.
Who This Course Is For
3D‑printing hobbyists who own a printer and can get a clean print
Makers who have dabbled in basic CAD (TinkerCAD or intro Fusion) but haven’t yet built a mechanical assembly
People who are ready to move beyond downloading other people’s files and start engineering original mechanisms
Those who want a clear, structured roadmap instead of months of trial and error
Anyone who wants to finish the next 3 weeks holding a mechanism designed and printed personally
Who This Course Is Not For
People who don't prefer step‑by‑step guidance and figure everything out entirely on their own
Complete beginners with zero CAD experience — the course assumes at least opening TinkerCAD or basic Fusion 360
Individuals who have never used a 3D printer before and don’t own one yet
Those looking for advanced engineering or industrial‑grade mechanical design — this course focuses on a first, simple mechanism, not production parts
Anyone unable to commit roughly one hour a day for 3 weeks
Frequently Asked Questions
Is the full course available right now?
Yes, you get access right away. The moment you join, you're into the Confident 3D Builder community and the lessons that are live, so you can start building immediately. Your 7-day satisfaction guarantee starts the day you purchase, so if it's not for you, just email me within 7 days for a full refund.
What skill level is this program for?
This course is designed for intermediate 3D printing hobbyists. You should already own a 3D printer, know how to get a clean print, and have at least dabbled in basic CAD, whether that's TinkerCAD, intro Autodesk Fusion, or similar. You don't need to be an expert, but you should know what a sketch and an extrude are. (The course itself is taught entirely in Autodesk Fusion, which is free for personal use, and we walk through setup together.) If you've never touched CAD software before, this course will move too fast. If you're already designing complex multi-part assemblies, this course will be too basic. The sweet spot is someone who can print but hasn't built anything mechanical yet.
How long do I have access to the program & when does it start?
You get lifetime access the moment you enroll. The program is built to finish in about 3 weeks at an hour a day, but you start whenever you're ready and go at your own pace — if life gets busy, the lessons aren't going anywhere.
Can’t all of this be learned on YouTube?
Technically, the information is out there. But it's scattered across dozens of channels with no clear order, no structured path, and no defined finish line. You could spend months piecing together random tutorials, guessing at tolerances, wasting filament, and still never end up with a working mechanical assembly. This course provides a proven 3‑week roadmap that runs from the first tolerance lesson to a working mechanism built from a custom design. That structure and speed is what is being paid for — not just the information.
What is required before starting?
Three things are required: a working FDM 3D printer already in use, with a build volume of at least 200 × 200 × 200mm (every part is modular and kept under ~200mm, so this gives you room to orient each piece whichever way prints best); a little hands-on CAD experience — even just having messed around in something like TinkerCAD, or followed a beginner Autodesk Fusion tutorial, is plenty (you won't use TinkerCAD in this course — everything's taught in Autodesk Fusion); and Fusion installed on your computer, using the free personal-use license. That's it. You don't need an engineering background, expensive software, or any prior experience with mechanical design. The course teaches you everything else from the ground up.
Invest in 3-Week Mechanism Builder or in more gear first?
Yes. A better printer alone doesn’t teach how to design parts that fit together and move. More filament alone doesn’t teach tolerances. The number one reason hobbyists waste filament and get frustrated isn't their equipment — it's that they don't understand how to design for function. This course gives you the knowledge to make your current printer do things you didn't think it could. Once you understand mechanical design fundamentals, every roll of filament you buy from that point forward goes further because you're designing it right the first time.

Is there a guarantee for this course?
3-Week Mechanism Builder includes a 7-Day Satisfaction Guarantee. If the quality of the lessons or the clarity of the roadmap isn't satisfactory, contact support within 7 days for a full refund, no questions asked. The 7-day window begins the day you purchase. That said, if you're up for sharing what didn't click, it really helps me improve the course.